iPhone storage full? Move your photos to a Mac and delete them safely
The iPhone says Storage Almost Full, and most of it is photos. Mine does this every few months. Instead of paying for iCloud, you can move them to your Mac: copy them over a cable, check the copy, and only then delete them from the phone.
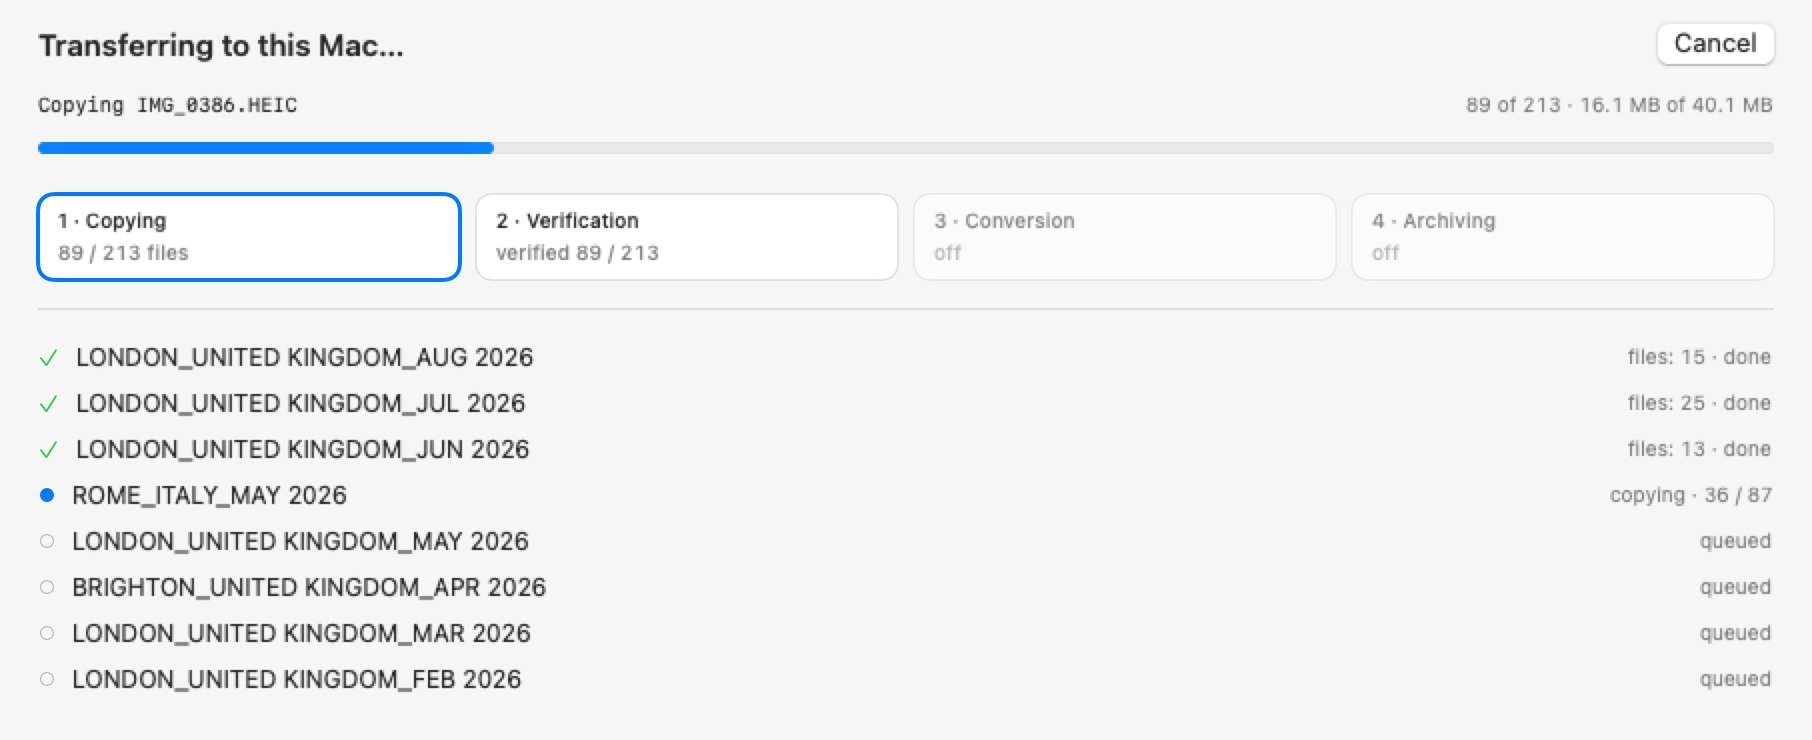
Every file is checked as it lands. Nothing on the phone is touched until you delete it yourself.
First, see what’s using the space
There’s no setting that frees the space and keeps every full-size photo on the phone: the originals either move to iCloud, which costs money once you’re past the free 5 GB, or they move to your Mac.
On the iPhone, go to Settings → General → iPhone Storage and give it a few seconds to add everything up. The bar at the top shows where the space goes, and below it every app is listed with what it takes, Photos included.
If Photos is the big one, you’re in the right place. If it’s Messages or an app you forgot about, moving photos won’t free much, and the same screen has suggestions for what to clear. And if the warning was about iCloud rather than the phone, that’s a different kind of full: the phone may have plenty of room while iCloud is out of space. The next section is about how the two are connected.
On an iPad all of this works the same way, under iPad Storage.
Will deleting them from the iPhone delete them from the Mac?
It depends on one switch. On the iPhone, open Settings, tap your name, then iCloud, then Photos, and look at Sync this iPhone.
If it’s off, the phone keeps its own photos, and whatever you copy to the Mac is a separate copy that doesn’t know the phone exists. Delete the photos on the phone and nothing on the Mac changes. That’s true for a folder in Finder, and for a Photos library on the Mac that isn’t signed in to iCloud Photos.
There’s a bonus in this case. If the phone backs up to iCloud, your photo library is part of that backup. You can see how much of it: Settings → your name → iCloud → Storage (or Manage Account Storage) → Backups → this iPhone, next to Photo Library. Apple’s own advice for making it smaller is to save the photos to your computer and back up again, which is exactly what this article does.
If it’s on, the phone isn’t keeping a collection of its own. It shows you one library that lives in iCloud, and Apple puts it plainly: when you delete photos on one device, they’re deleted everywhere you use iCloud Photos. That includes Photos on your Mac if it syncs with the same account. What survives is what you copied into an ordinary folder or onto a drive, because iCloud doesn’t know those files exist. Someone on r/mac with 45,000 photos and iCloud on everywhere asked exactly this, and the answer they got is the right one: once the photos are out of the Photos app, deleting them there doesn’t touch them.
Two things make this case riskier than it looks. If you’re over your iCloud storage limit, Apple says photos you delete are removed immediately and never reach Recently Deleted, so there are no 30 days to change your mind. And with Optimize iPhone Storage on, a lot of photos may be on the phone only as reduced copies while the originals stay in iCloud. A cable copies the reduced ones without a word, which we went through in the Image Capture article. Delete after that and the original goes with it.
So with iCloud Photos on, decide where the library should live before you delete anything. If the answer is iCloud, don’t delete at all: keep Optimize iPhone Storage on and the phone frees space by itself, as long as iCloud has room. If the answer is your Mac, the originals have to come out of iCloud first. The dependable way is Photos on the Mac. In Photos → Settings → iCloud, choose Download Originals to this Mac and let it finish (you’ll need room for the whole library), then use File → Export → Export Unmodified Original to put them in a folder or on a drive. Those exported files are the ones that stay when you delete. It’s slower than the cable, but it gets you every original, including the ones the phone has no room for.
Copy the photos to the Mac
Three apps will do it over a cable. The difference is where the photos end up.
Photos on the Mac imports them into its library: connect the phone, click it in the sidebar, then Import All New Items. It’s the easiest way, with one catch. If Photos on the Mac uses iCloud Photos, everything you import goes up to iCloud and counts against your storage there. When iCloud is what’s full, that’s the opposite of what you want.
Image Capture comes with every Mac and copies the photos into a folder you choose, as ordinary files. Everything lands in one folder under the phone’s own names, IMG_4021 and so on, and a Live Photo arrives as two files, a still and a short video. If it lists fewer photos than the phone has, here’s why.
Photo Transfer, the app I make, also writes ordinary files into the folder or drive you choose, but it sorts them into folders by date, event or trip on the way, keeps each Live Photo and edit next to its original, and checks every file as it lands. Next time you connect the phone, it offers only what’s new.
Whichever you use, pick a folder that isn’t in iCloud Drive. If your Mac keeps Desktop and Documents in iCloud, a folder on the Desktop gets uploaded and uses your iCloud storage. The Pictures folder in your home folder stays on the Mac, and so does an external drive.
Check the copy before you delete
This is the step people skip, and it’s the one that makes the delete button boring instead of scary.
Start with the count. In Photos on the iPhone, scroll to the very bottom of the library: the total is there, so many photos and so many videos. The folder on the Mac won’t match it file for file, and that’s fine. A Live Photo is two files, and an edited photo can bring a second version along. What you’re checking is that nothing is missing, so compare the phone’s numbers with what the app says it brought over.
Then look at sizes. In Finder, switch to List view and sort by Size. A full photo from a recent iPhone is a few megabytes. A reduced copy left behind by Optimize iPhone Storage is a few hundred kilobytes, and those sink to the bottom of the list.
Last, open a few: the oldest photo, the newest one and the longest video. If they open, play and look sharp at full size, the batch is fine.
It does this check for you. Every file is checked as it lands, and the report at the end says how many were copied and checked, how many were already in the folder, and lists by name anything that didn’t make it. Reduced copies are counted before anything is copied. Free for 50 snapshots a day, $14.99 once for everything.

Delete them from the iPhone
Do it on the phone, in Photos. Open the library, tap Select, then slide your finger across the rows to pick a whole stretch of photos at once. Tap the trash button and confirm.
The space doesn’t come back straight away. Deleted photos go to Recently Deleted and stay there for 30 days before they’re removed from the iPhone. That’s your safety net, and it’s worth keeping for a day or two while you use the copies on the Mac. When you need the space now, go to Collections → Recently Deleted (under Utilities), tap View Album and unlock it, then Select, the More button and Delete All.
Photos and Image Capture on the Mac can delete from the phone too: Photos has a Delete items checkbox, Image Capture has Delete after import. I’d leave both off. They delete the moment the import finishes, before you’ve looked at a single file. Photo Transfer has no such option at all. It opens the phone read-only, so the delete is always yours to make, on the phone, after the check.
Keep a second copy
Once the phone’s copies are gone, the Mac is the only place those photos exist. One disk can fail, get stolen or meet a cup of coffee. The simplest insurance is an external drive with Time Machine, which is built into macOS and backs the Mac up every hour on its own. Or copy the photo folders to a drive you keep somewhere else. Two copies in two places, and then the phone’s copy is the one you can do without.
Checklist
- Settings → General → iPhone Storage: is Photos the big one?
- Settings → your name → iCloud → Photos: is Sync this iPhone on?
- If it’s on, decide where the library lives before you delete. A full iCloud means no undo.
- Copy over a cable into a folder outside iCloud Drive, or straight to an external drive.
- Check the count and the sizes, then open the oldest photo, the newest and the longest video.
- Delete on the phone: Select, slide across the rows, trash.
- Empty Recently Deleted only when you need the space now.
- Keep a second copy on another drive or with Time Machine.
 Photo Transfer
© 2026 Viacheslav Koniukhov. Sold on this site by Paddle as merchant of record. Apple, iPhone, iPad, Mac, macOS and App Store are trademarks of Apple Inc. Photo Transfer is an independent product, not affiliated with or endorsed by Apple.